


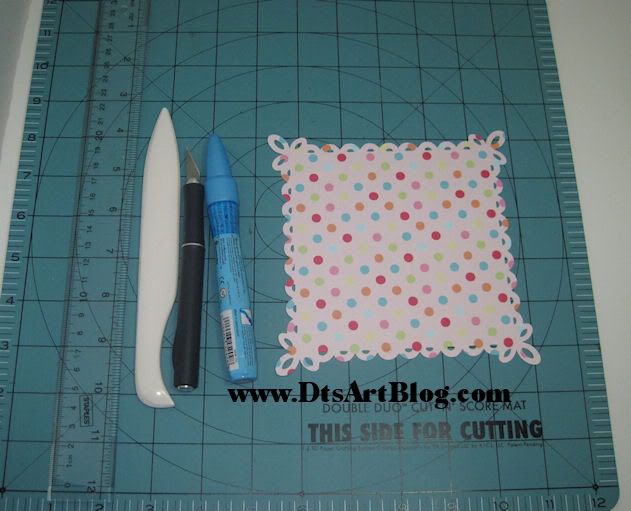
•Ruler
•Bone Folder
•Exacto Knife OR Scissors will work the same
•Glue Stick or ATG gun or other adhesive
•Loopy Frames Download the file if you haven't already. We will be using the DtsArt Bookmark Loopy Frame.
• Card Stock Or Paper. It doesn't matter which. I like card stock.
• Little Embellishment such as, ribbon, flowers, glitter, Cricut cuts or any other small die cut you want to use to dress up your bookmark to make it pop.
Have you gathered all that? Great then! Let's get started.
1. You need to open the DtsArt Bookmark Loopy Frame File to 5.65 inches width and height and cut it out using your cutting machine.
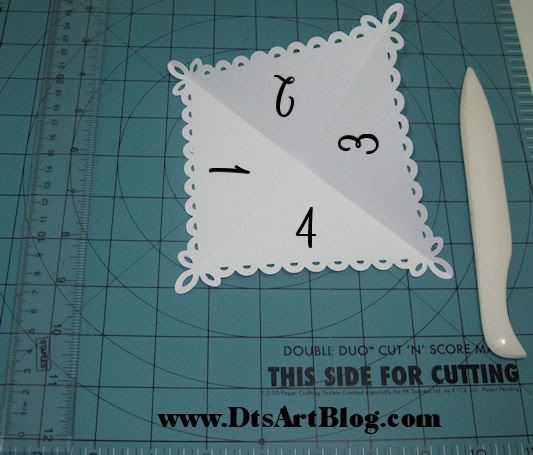
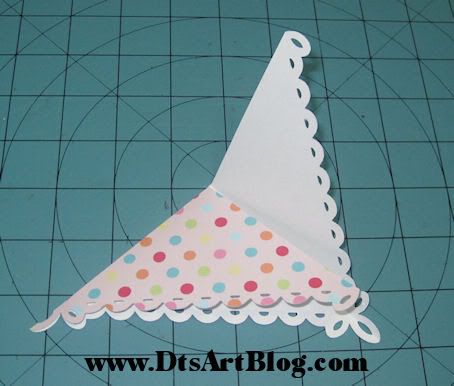
2. Take your bone folder and ruler and score diagonally from corner to corner. Repeat with the remaining corners.
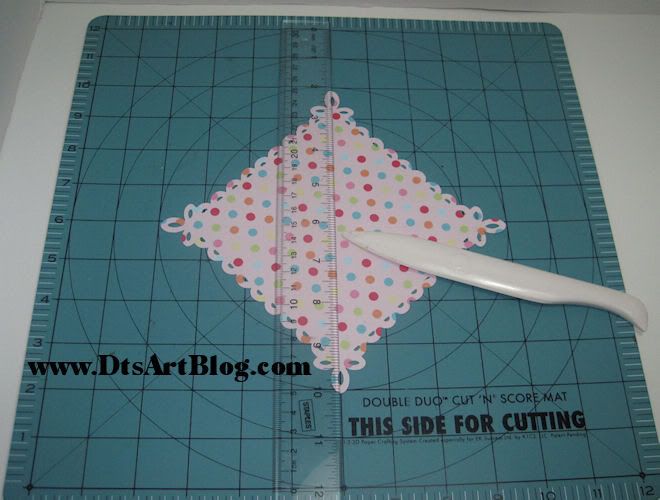
3. Fold on both score lines.
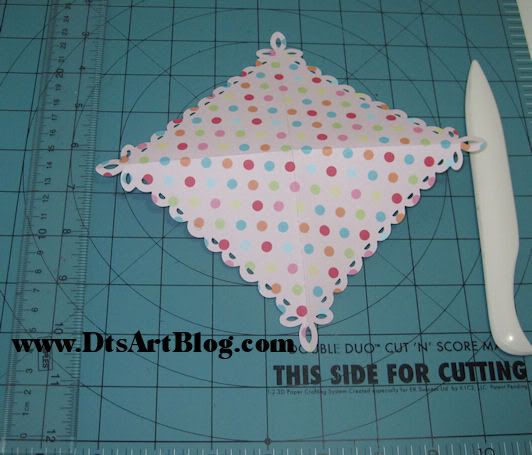
4. Notice how when folded the paper looks like it is divided into four scored triangles. Take your Exacto Knife or Scissors and cut out one of the triangles by following the score lines.

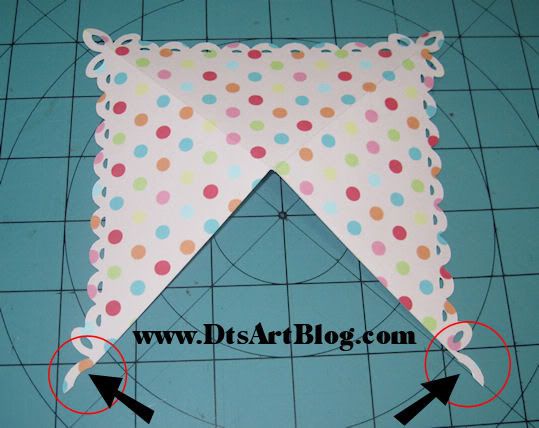
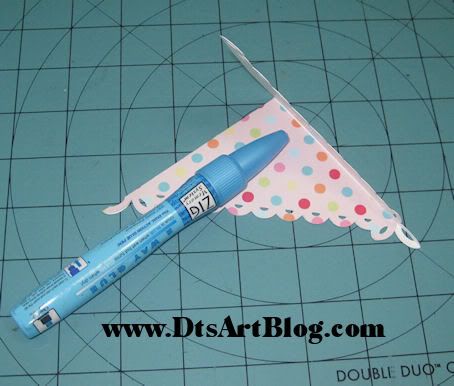
5. We have cut the corner loops at the bottom in half. Take your Exacto Knife or Scissors and cut the other half of the loop off.
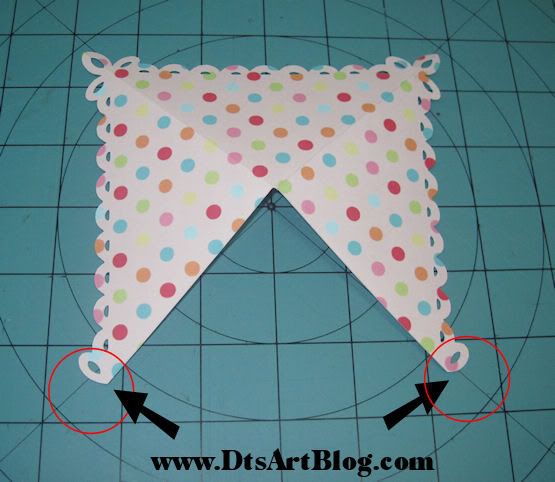
6. What we have remaining is the bases of our corner bookmark. We are now going to fold it.
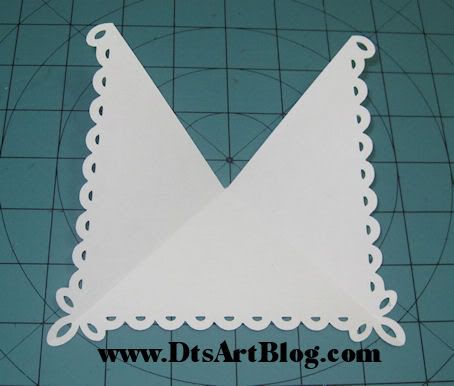

7. When you have a nice crease you will put glue on the inside of the second flap and close the flap. Let dry. Be sure NOT to glue that first flap down or else you will not be able to put your book pages in the book mark!
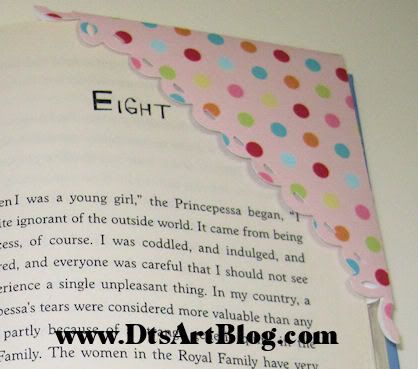
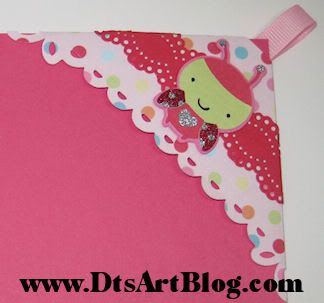
8. There you have a cute corner bookmark with sweet loopy bottom trim with very little work on our part! Now embellish the front and/ or back with your choice of scrapbook findings.

I have given the steps I took to embellish my corner book mark below in case you would like you would like to use some of the embellishment looks I have used.
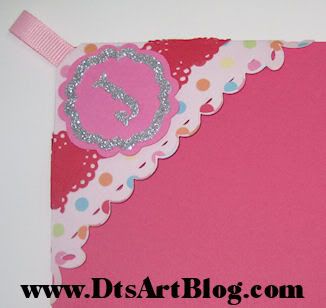
I trimmed the corner top of the bookmark so that I could put a pink 3/8 ribbon tab on it. I then cut a stripe of red card stock at 1 1/2 inches in height and about 8 inches long and used a Martha Stewart Punch on the top and bottom of it to get a doily look. I then used SUPRISE! you guessed it, Cricut's Create A Critter Cartridge for the ladybug. LOL You can find the ladybug on page 66 of the handbook. I then felt like it need some sparkle so I added silver and red glitter to the wings and heart using my glitter paste. The glitter paste how to is outlined here. I also decorated the back too. Instead of another Create A Critter animal. I KNOW I KNOW!! Can you believe what restraint I used not to include another critter. LOL hehehe I used pink card stock to make a tiny tag and then put her initial J on it with an accent cut out in silver. This corner bookmark looks good whether you are looking at the front or the back.


9 comments:
Totally adorable. Thanks so much for the tutorial. I do not have SCAL oe MTC but hopefully I can make it look decent without the file.
Love you blog.
Thanks so much. If you don't want to or can't use the file then cut a square about 5 inches, maybe 5.25 if you plan to use a punch at the bottom. It comes out cute that way. As I said I make several of them through out the year.
That is ingenious!!! I absolutely LOVE it! :) I know nothing about scrapbooking, but I may have to give this a try.
Thank you for freebies. Link on your post was added to Lori's freebie list
What a darling idea...awesome for little projects for the kids for their teachers next year. Thanks for the great freebies :o)
Hey Miss Maria!!
Do try it. It is super easy! You can substitute a plain 5 inch square too and do the same. Girl do try it. If you want email me and I will even send you the bookmark loopy frame and other simple die cuts to decorate it!
Great tutorial!!!!
So cute for all the readers in my life. Thanks for sharing!
Just love this, would be so great for my grandaughters. Thanks for sharing.
Post a Comment